 Zoomed to minimumUse the plus and minus key to zoom and the arrow keys to pan
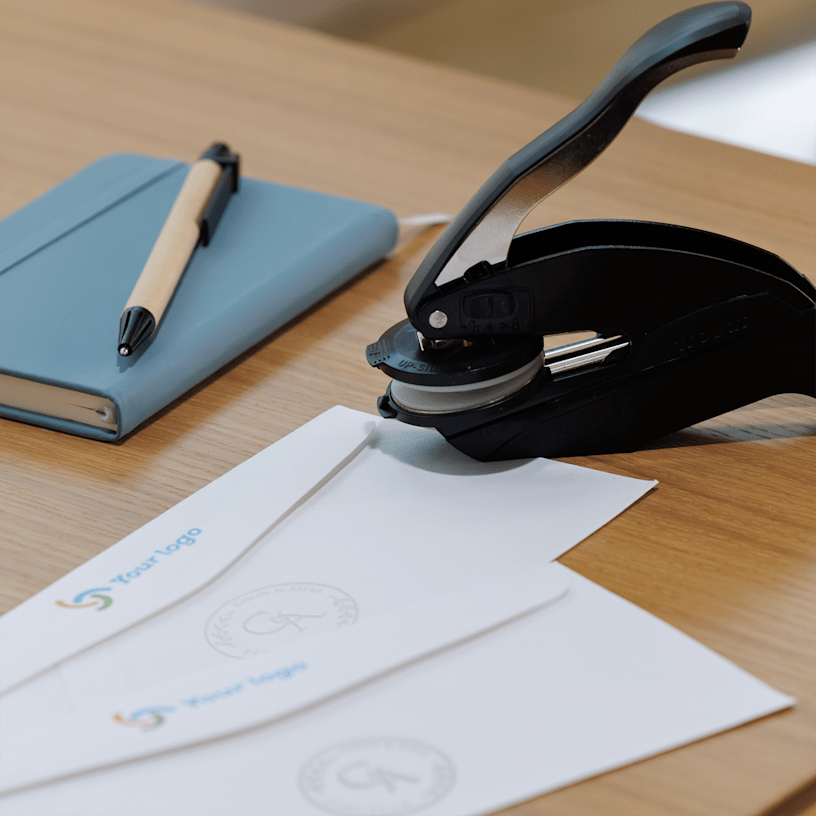
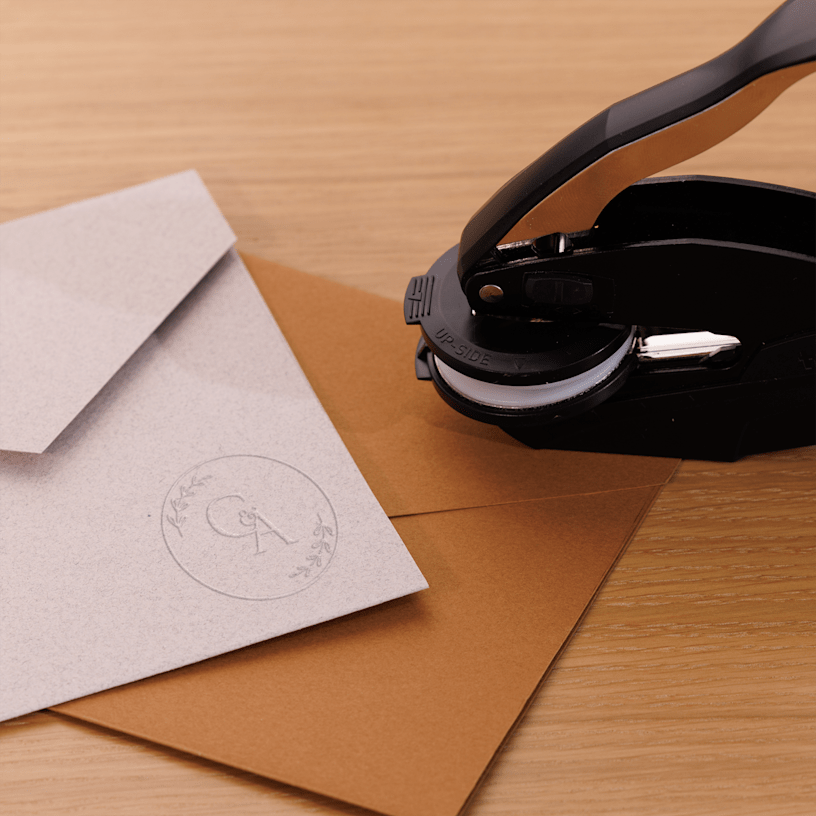
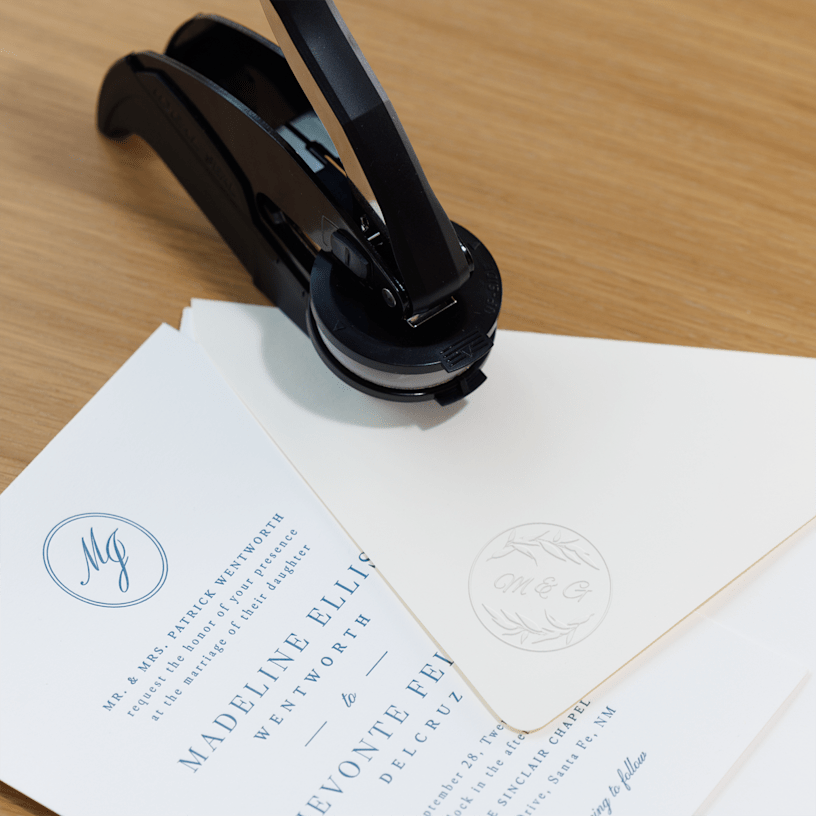
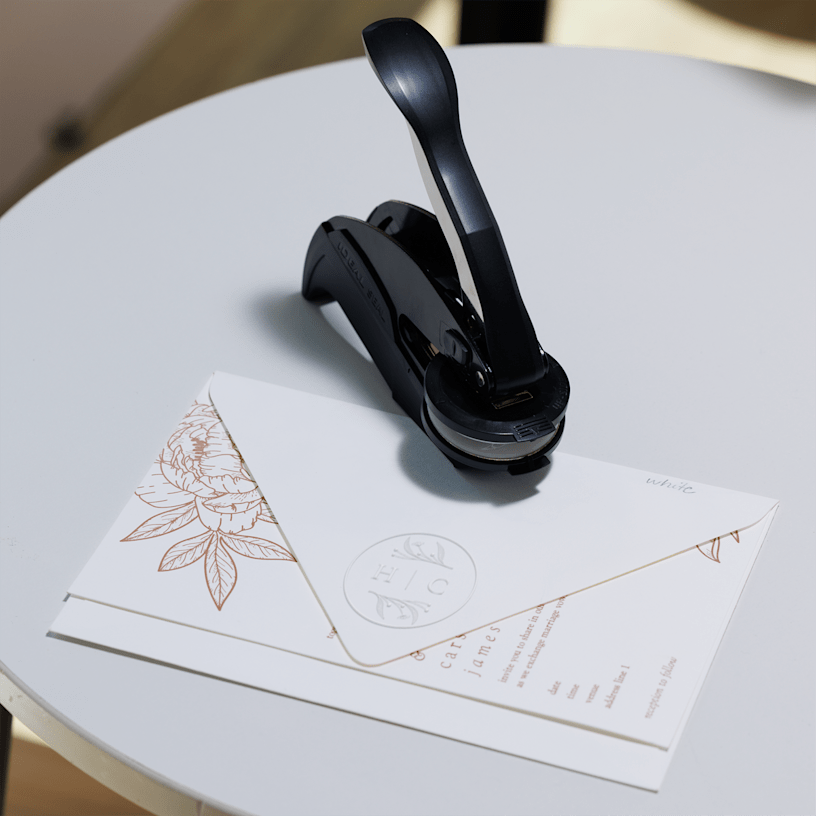
Embossing Stamps
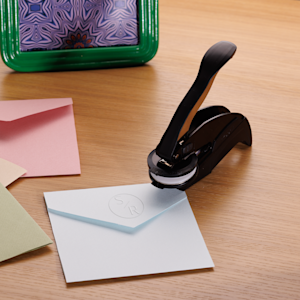
Give invitations and documents a premium raised finish with embossing stamps
- 4.1" circular die size
- Ink-free raised impressions
- Dual die plate system
- Ergonomic grip for easy handling
- Works on 80–160 gsm paper
- Protective carrying bag included
A mark that stands out
Built for desk and on-the-go use
Designed to your specifications
Reviewed by 1 customers

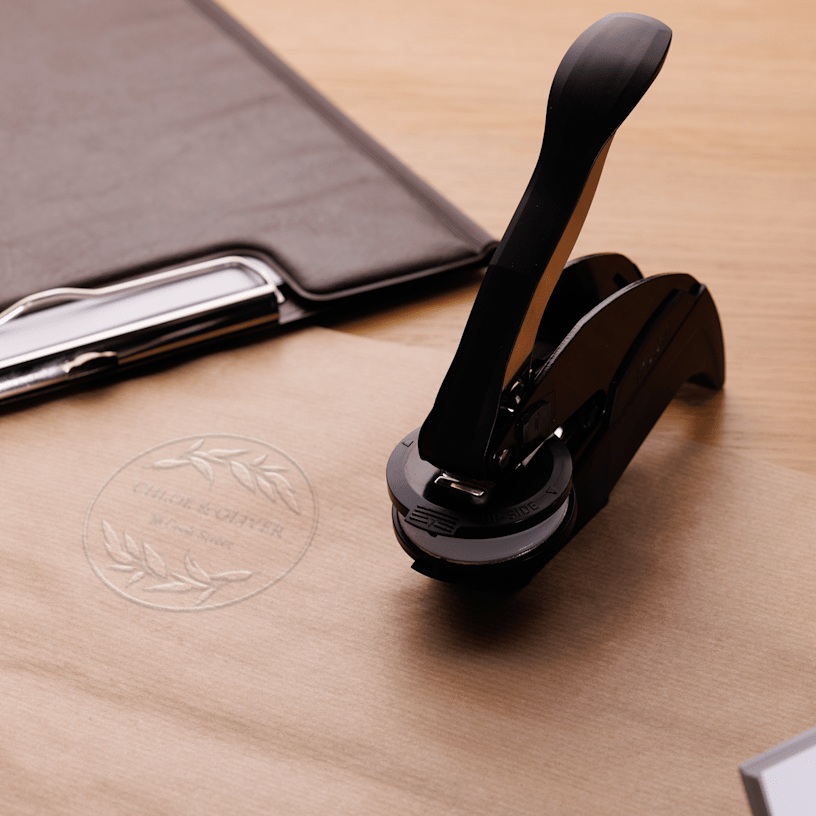
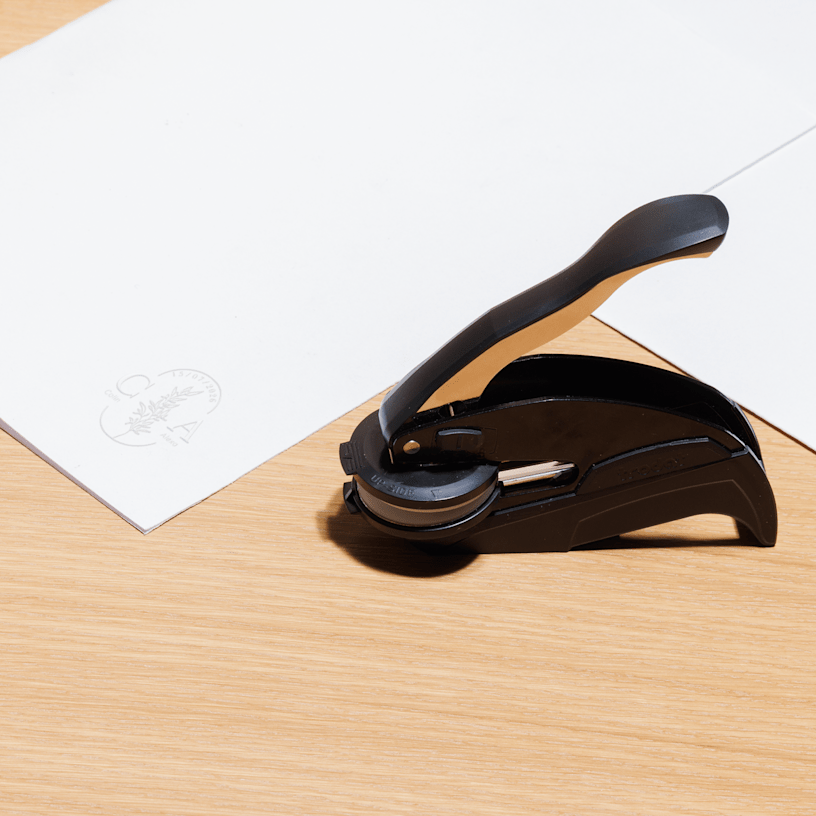
An embossing stamp is a small tool that lets you press a raised design or seal into paper. People often use them to add a special touch to invitations, letters or books. They’re also used in business settings to make documents official or to mark certificates.
Our embossing stamps use custom-made die plates, which consist of one raised plate and one recessed plate. When you press them together with paper in between, you create a crisp, raised impression — no ink is needed. This is an easy way to add texture and style to your projects. Please note that the plates are designed for perfect alignment, so you don’t need to apply a strong grip.
Embossing gives you a raised design by pressing the paper, while stamping usually uses ink to leave a flat image. Embossing adds a tactile, premium feel and works best on porous paper, like cotton, where the raised impression stands out most.
Here’s a quick guide to get you started:
First-time set-up
-
Unpack: Remove the seal from its box or protective bag.
-
Unlock: Slide the locking mechanism on the seal body to the unlocked position.
-
Insert the die plates:
- Lift the handle and remove the die holder from the rear of the seal.
- With the raised side facing up, squeeze and insert it until it clicks into place.
Proper storage
- Remove the die plates: Squeeze the holder, lift the handle, and slide it out.
- Secure: Place the die holder in the rear, aligning it with the handle’s contour.
- Lock & Protect: Slide the mechanism to lock and store in the included bag/box.
Pro Tip: Always store your seal locked to keep the die aligned for crisp impressions.